14 October 2026
How to set up a photo-point register for a monument condition review
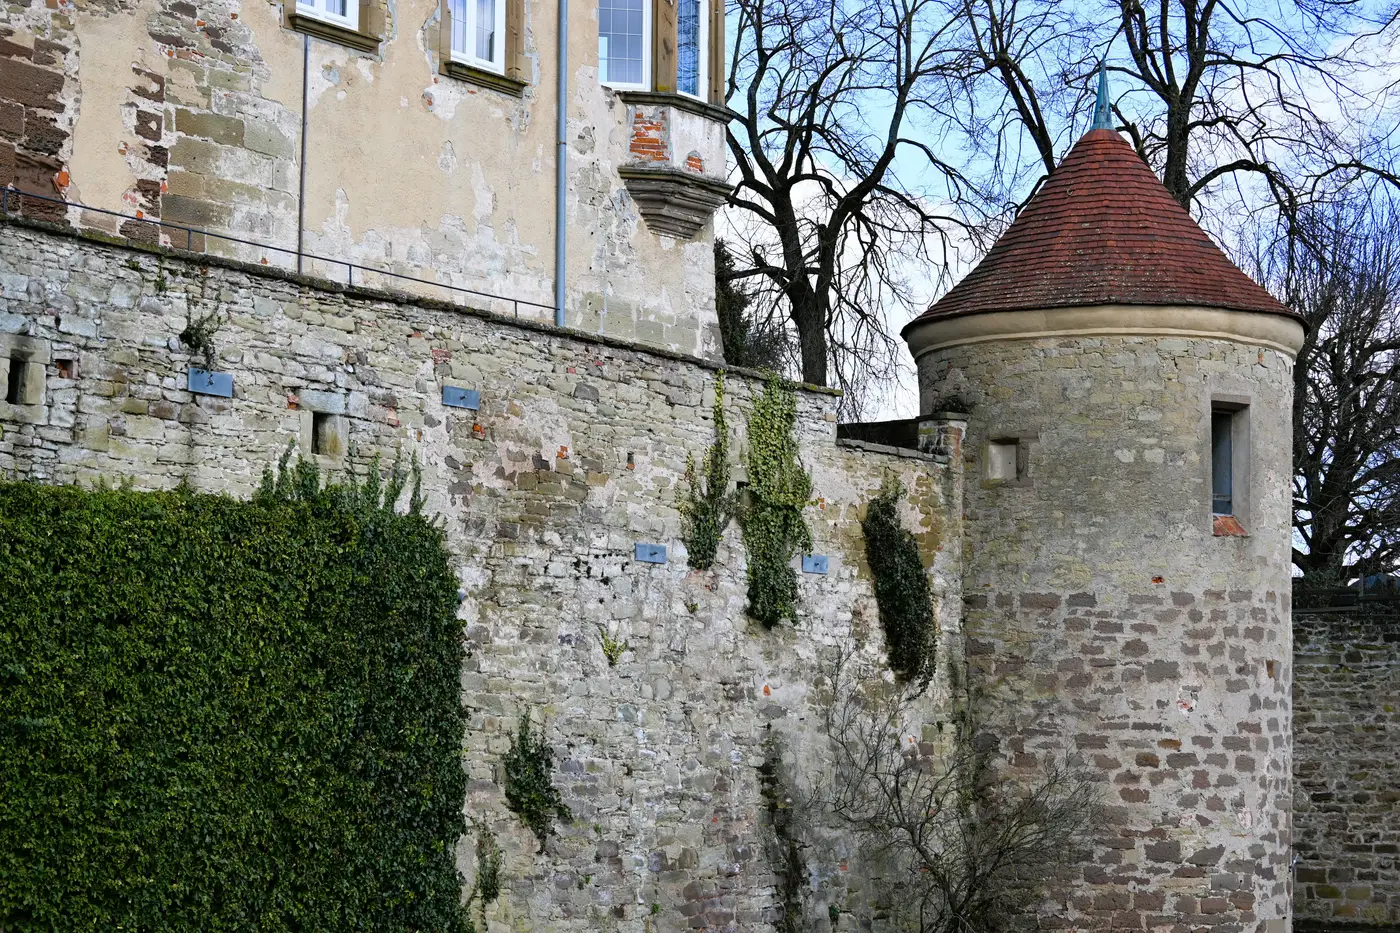
A photo-point register is the backbone of most monument condition monitoring programs, and for good reason. It's cheap, it doesn't need specialist kit, and a volunteer or junior officer can run it after twenty minutes of training. Done properly, it gives you a defensible record of change over time. Done loosely, it gives you a folder of photos nobody can quite line up again.
Here's how to set one up so it actually holds up at the next review.
Choosing and marking your photo points
Start by walking the monument with your condition report in hand and marking every location where you'd want to catch deterioration early: masonry joints under known stress, areas with prior water ingress, carved surfaces, boundary walls, any spot flagged in the last inspection. Six to twelve points is typical for a single structure; more if you're covering an extended site like a walled precinct or a group of associated monuments.
Mark each point so it survives a year of weather and foot traffic. A painted dot on a kerb stone works, as does a driven stake with a GPS reading or a bolt set into existing hardscape. Any of these lets you put the camera back in the same spot next time. Note the stance height, the compass bearing, and whether the camera was handheld or on a tripod. If you can get a GNSS fix to within a metre or two, record it. Without that fix, your only way back to the same spot is a written description and whatever reference object you were using still being there.
Recording the shot: settings, lighting, and metadata
Lock down focal length (or at least note it) and shoot in good, flat daylight if you can choose your window. Strong raking light is great for showing surface texture in a single photo but terrible for comparison, because shadows move and a crack that looks dramatic in October light can look invisible in June. Pick one lighting condition and try to repeat it.
For every frame, log: point ID, date, time, weather, camera settings, and the name of whoever took the shot. A scale bar or ranging pole in frame earns its keep the day someone asks "how wide is that crack really" and you don't have to guess from pixels.
Store the images with a naming convention that survives a change of staff, something like MONUMENT-POINTID-YYYYMMDD.jpg, and keep a simple spreadsheet cross-referencing point IDs to grid references and descriptions. The register is only as good as the next person's ability to pick it up cold.
Setting the review interval
Match your revisit cadence to the risk. Annual is standard for most scheduled monuments; push to six-monthly after any intervention or following severe weather, and extend it where a structure has been stable for years. Whatever interval you set, keep it fixed rather than "when someone gets around to it." A register that's revisited at irregular intervals makes it hard to say whether a change happened over three months or three years.
Where a photo-point register runs out of road
A well-run register is good at catching obvious change at a known spot. It's weak at two things: anything happening between your marked points, and anything where you need an actual measurement rather than a visual impression. Comparing two photos side by side tells you a crack looks wider. It doesn't tell you by how many millimetres, and it won't catch subsidence or lean across the whole structure unless you happened to pick a point that shows it.
That's the gap a measurable 3D baseline fills, built from a drone or aircraft survey rather than a set of fixed camera stations. Instead of comparing photographs, you're comparing surfaces and getting an actual figure for how much has moved. For many monuments the two approaches sit side by side: the photo-point register for the day-to-day walk-round, a full baseline for the review that needs numbers attached to it.
If your next condition review needs something you can measure against rather than eyeball, that's what Heritage Documentation is built to deliver.